Make STUNNING Ice Cave Terrain the Easy Way -- In Just a Couple Hours!
Make your table come alive with this SUPER easy terrain craft!

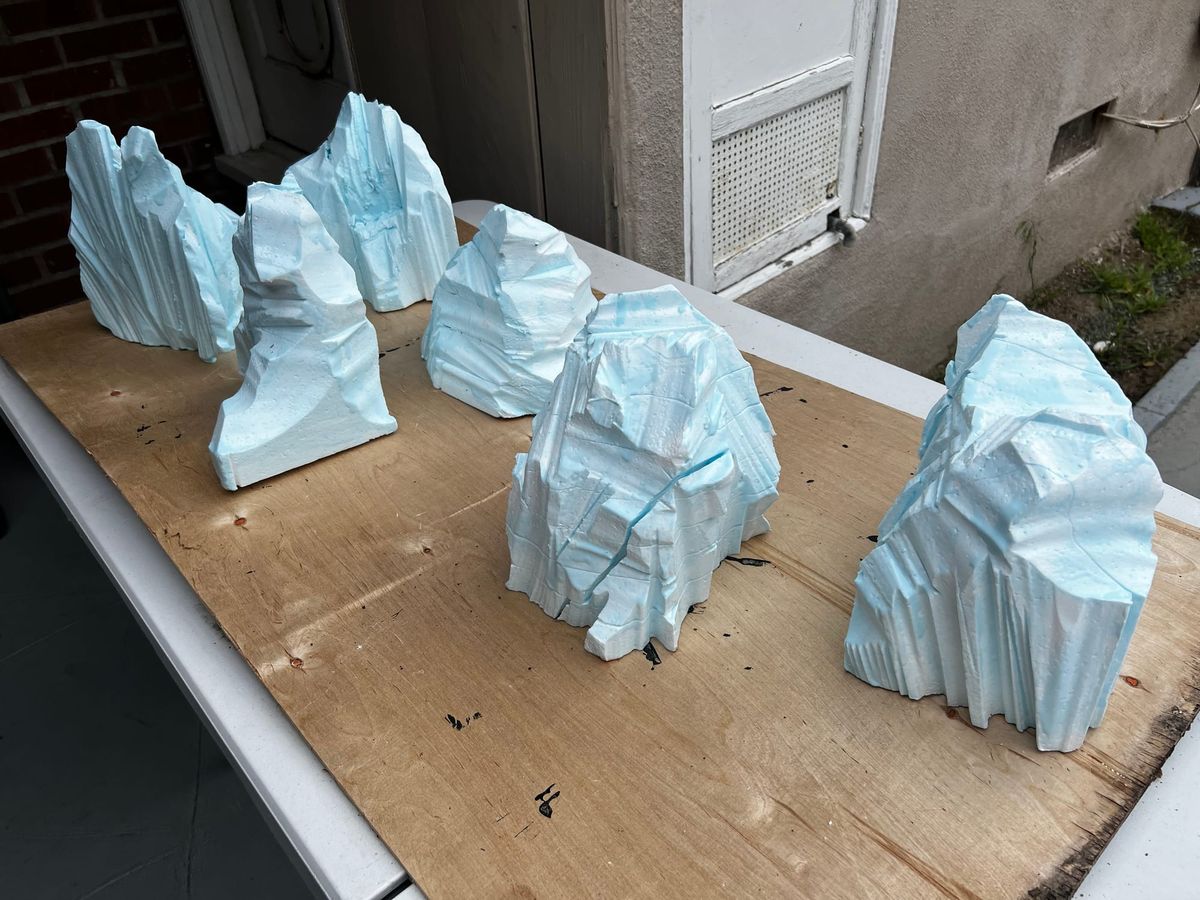
One way to engage players is by helping them picture the world in three dimensions. I use terrain pieces to help them see and think creatively about their play choices. It enhances both the gameplay choices and the sensory experience, which for me is a big draw of the game.
Foam crafting is very fun and very forgiving. I learned a ton from watching Black Magic Craft on Youtube.
I run Peril in Pinebrook by Shawn Merwin for my Learn-to-Play D&D sessions. There's a lot of ice-caves in that adventure, so I built these SUPER USEFUL ice cave terrain pieces.
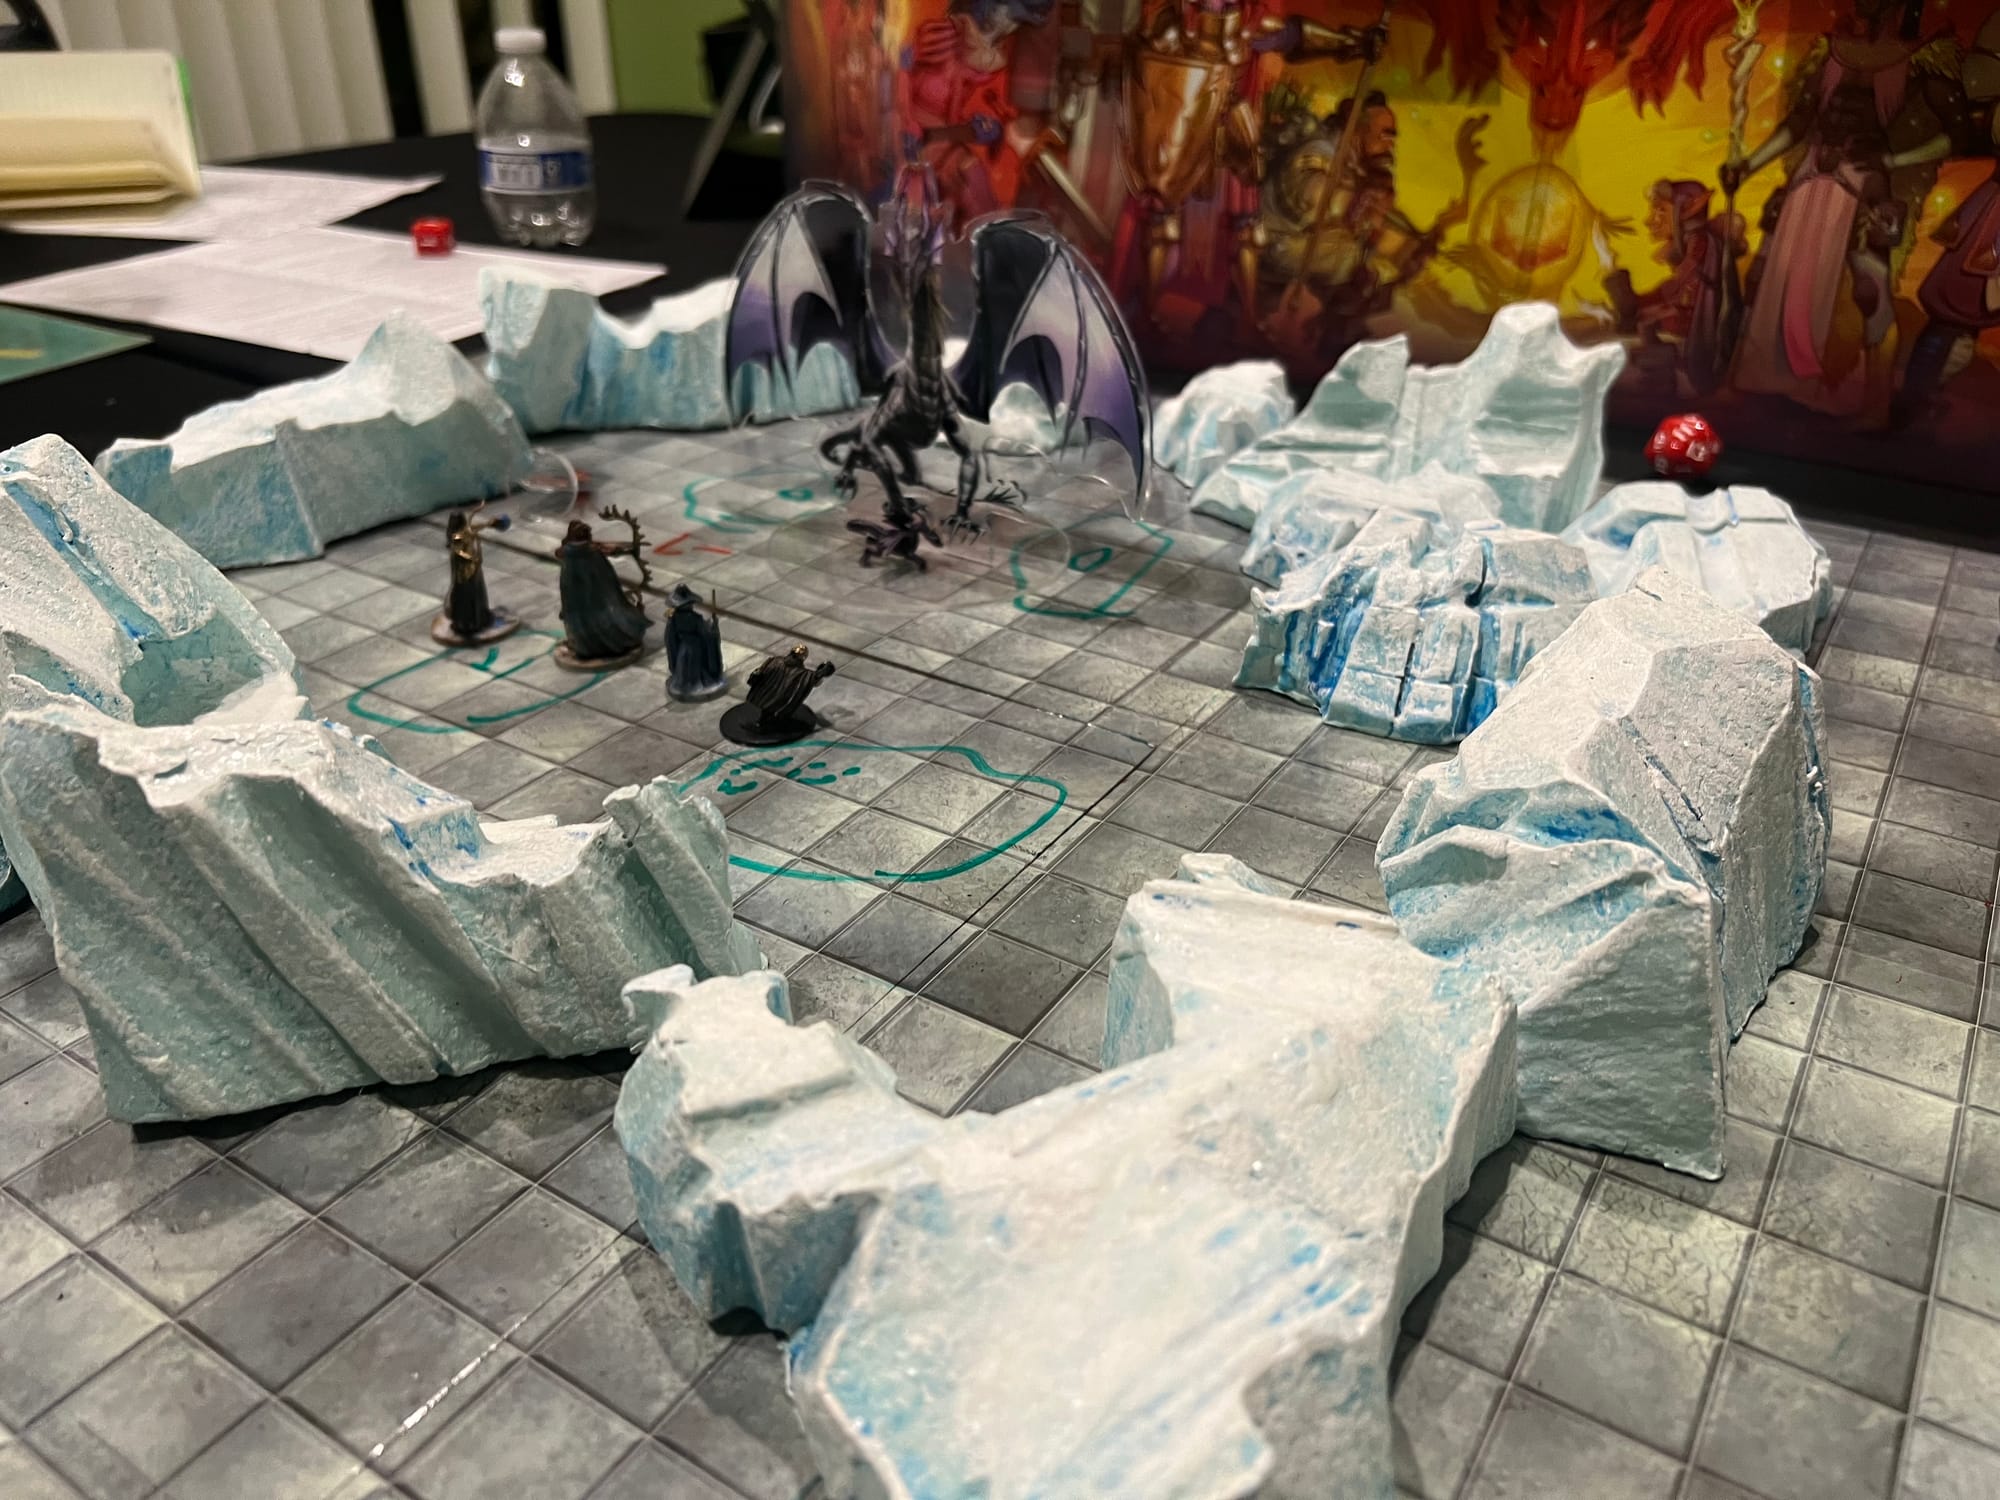
These pieces are VERY easy to make... probably the easiest type of terrain to start your collection with. The process is extremely forgiving.
I started by going to Best Buy and dumpster-diving for some free styrofoam. They have big big chunks of it, and they don't sell food, so the dumpster isn't gross!
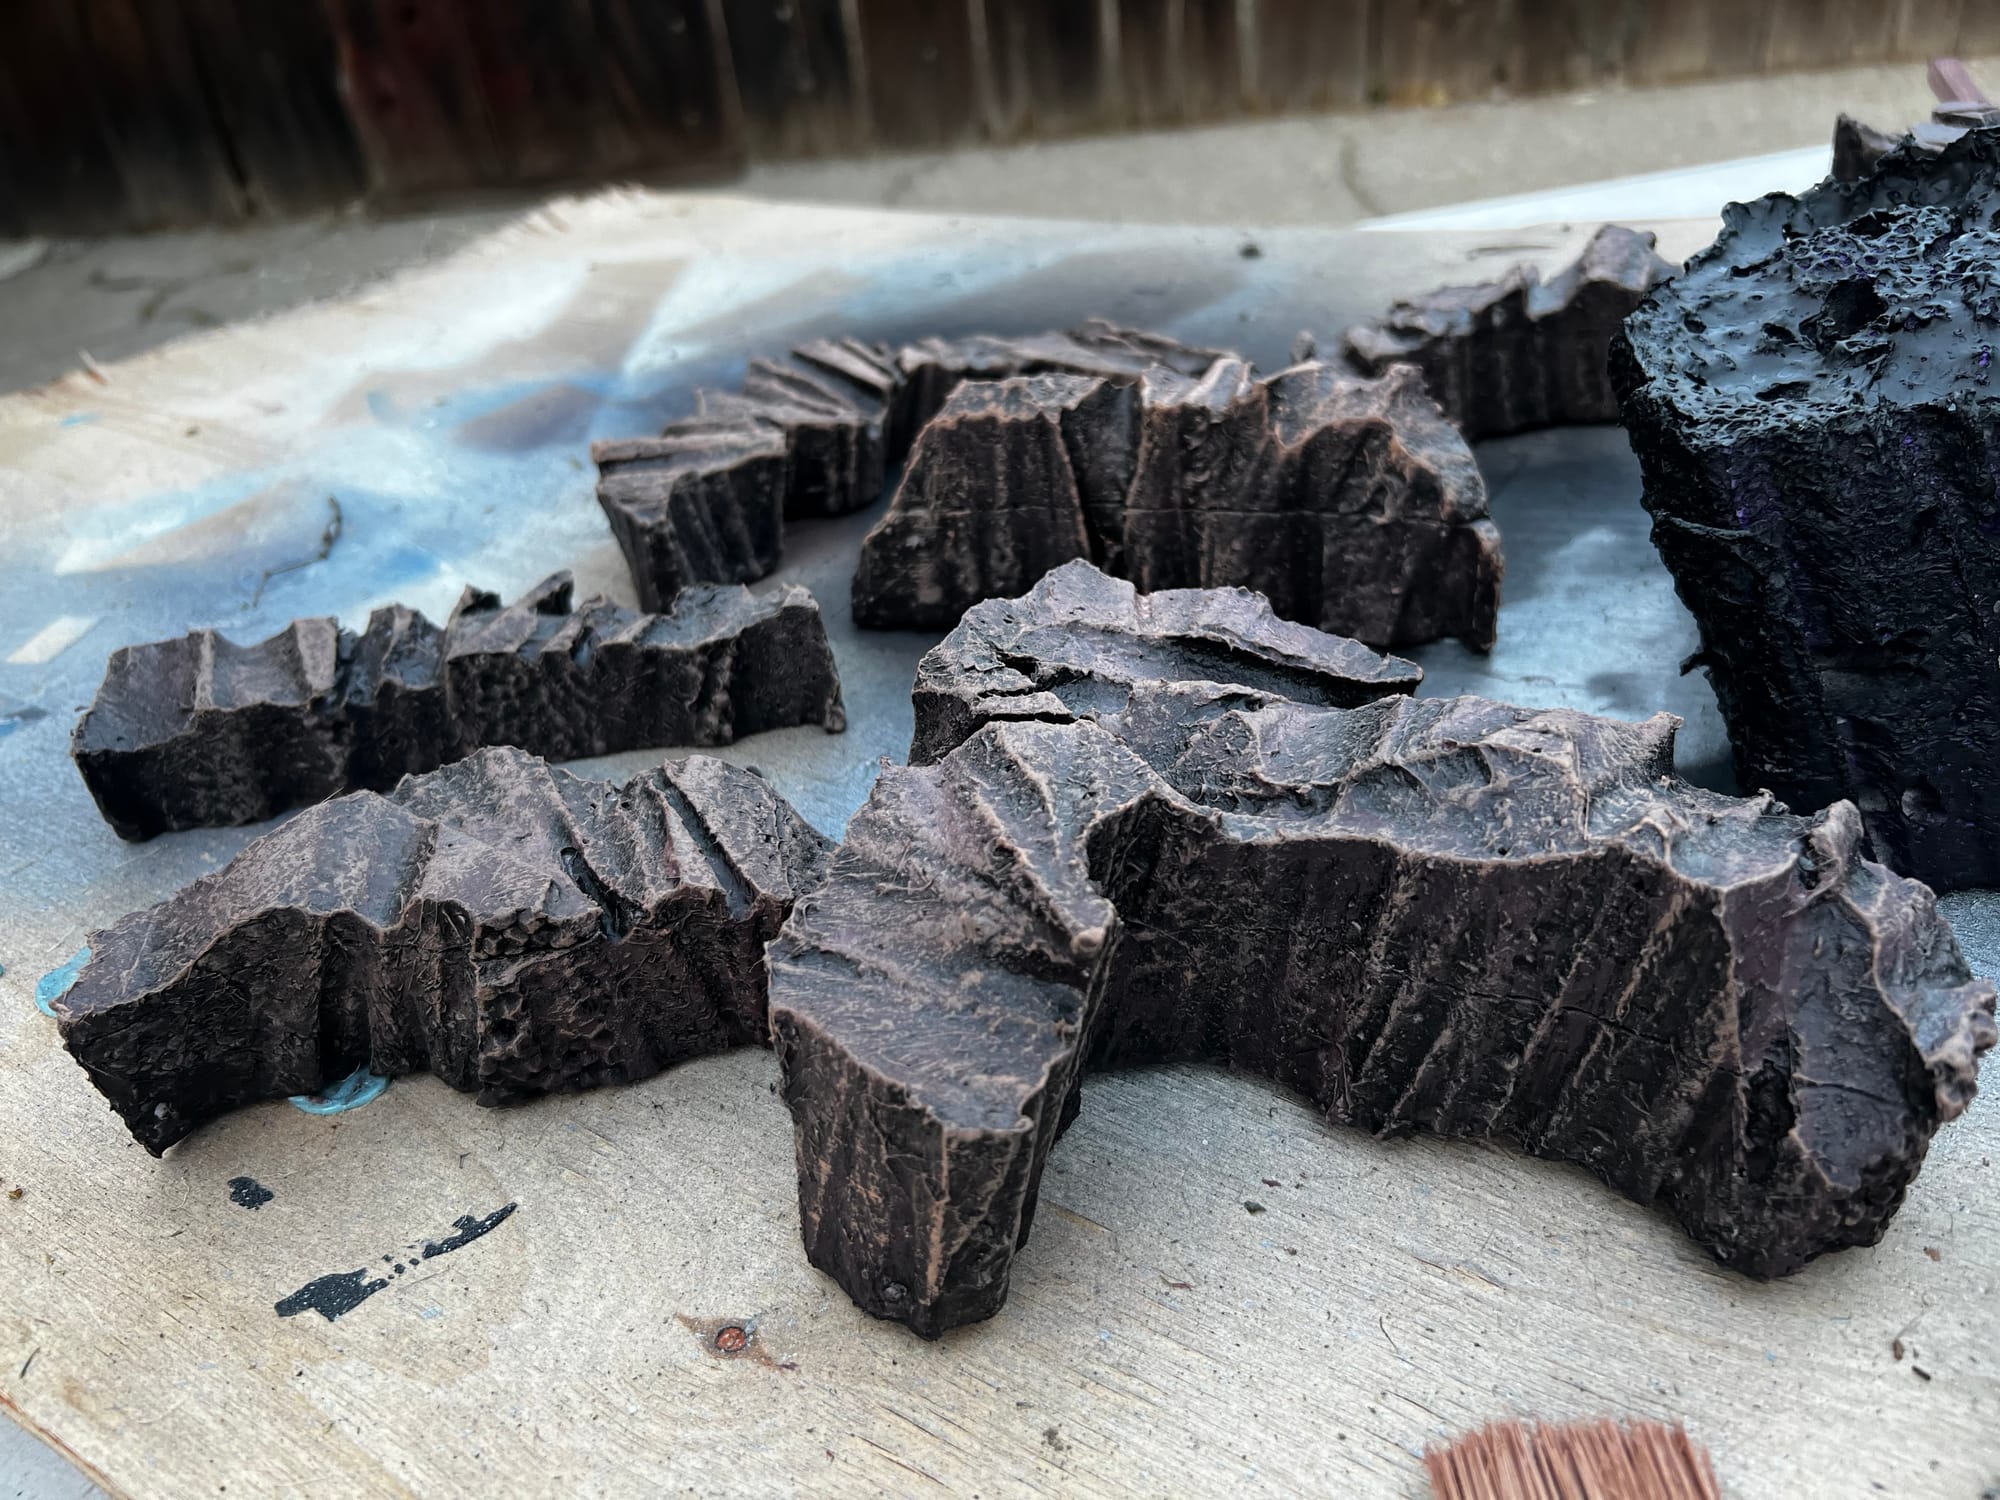
I used a foam-carving hot-wire tool to make my shapes, just kind of free-form (I demonstrate the process in the video below).
Then I seal the foam with a combination of tempera paint and Mod-Podge. For ice, I made my sealing mix an ice blue to be the undertone of the caves.
Then when dry, I dry-brushed white paint along the peaks and high-points.
I sprayed Vallejo Acrylic Gloss Varnish coating and while wet, I sprinkled on a clear glitter, just on the upward-facing surfaces. Make sure you TEST your coating with spare styrofoam first! Some sprays dissolve foam (Which is a cool way to make spooky, diseased-looking pitted rock terrain).
After the varnish, on some upper, more flat parts, I added white glue and then covered it with baking soda and glitter, to make patches of snow.
I also put lead weights from a fishing shop into the underside, so that these pieces aren't easy to knock over should they be bumped during play.
This is also how I made my twisty, modular cave wall set, just with different colors and shapes.
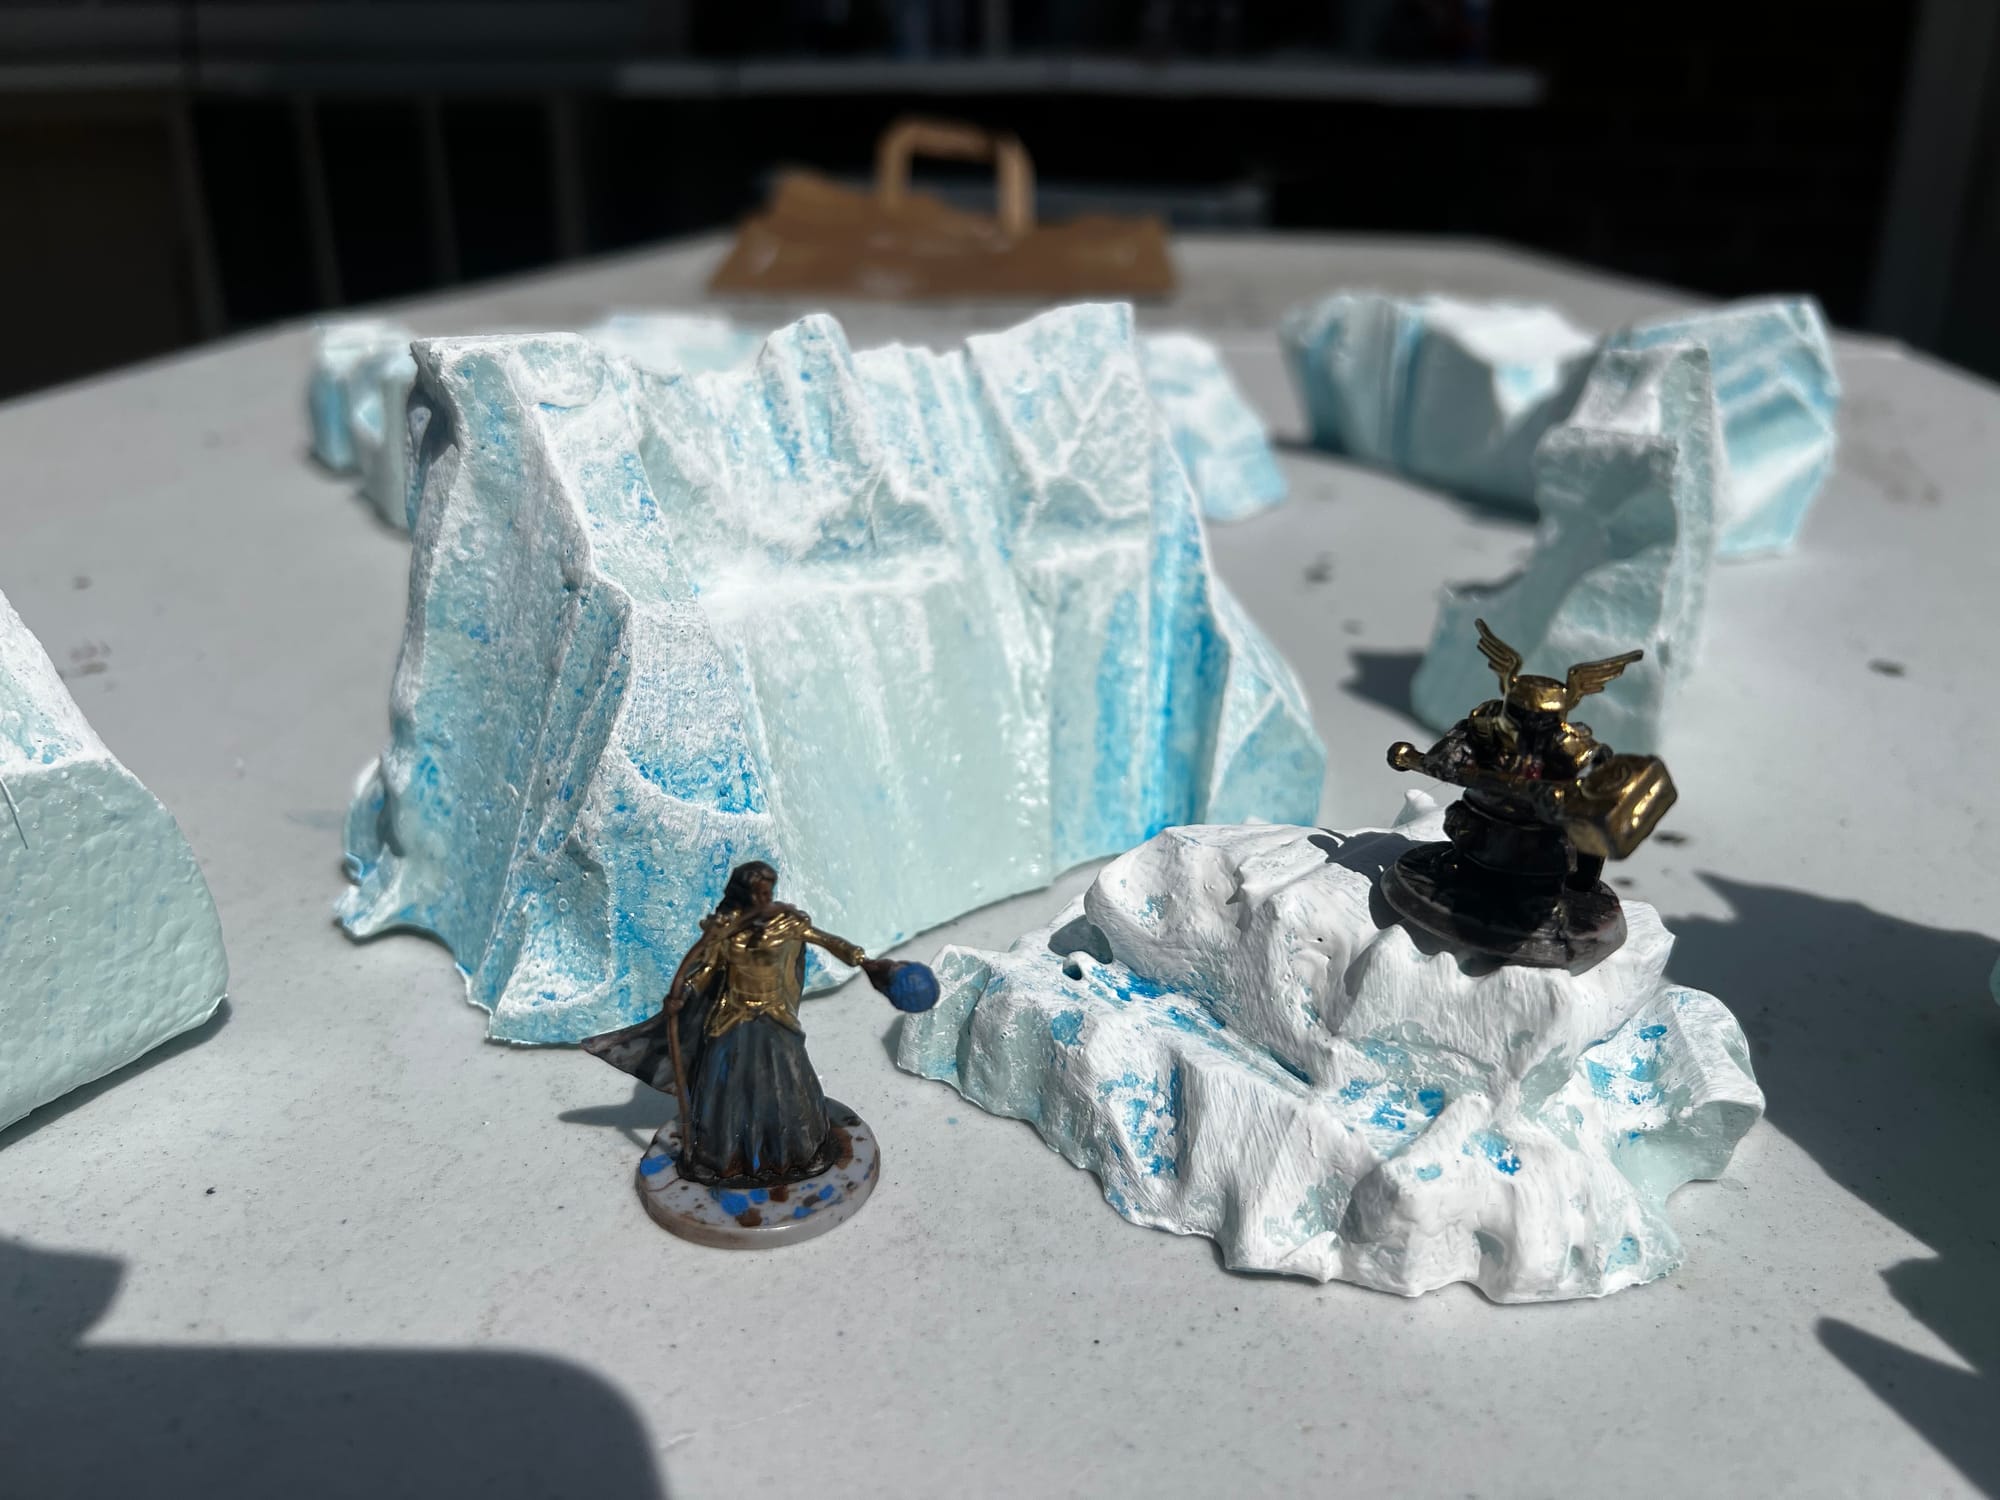
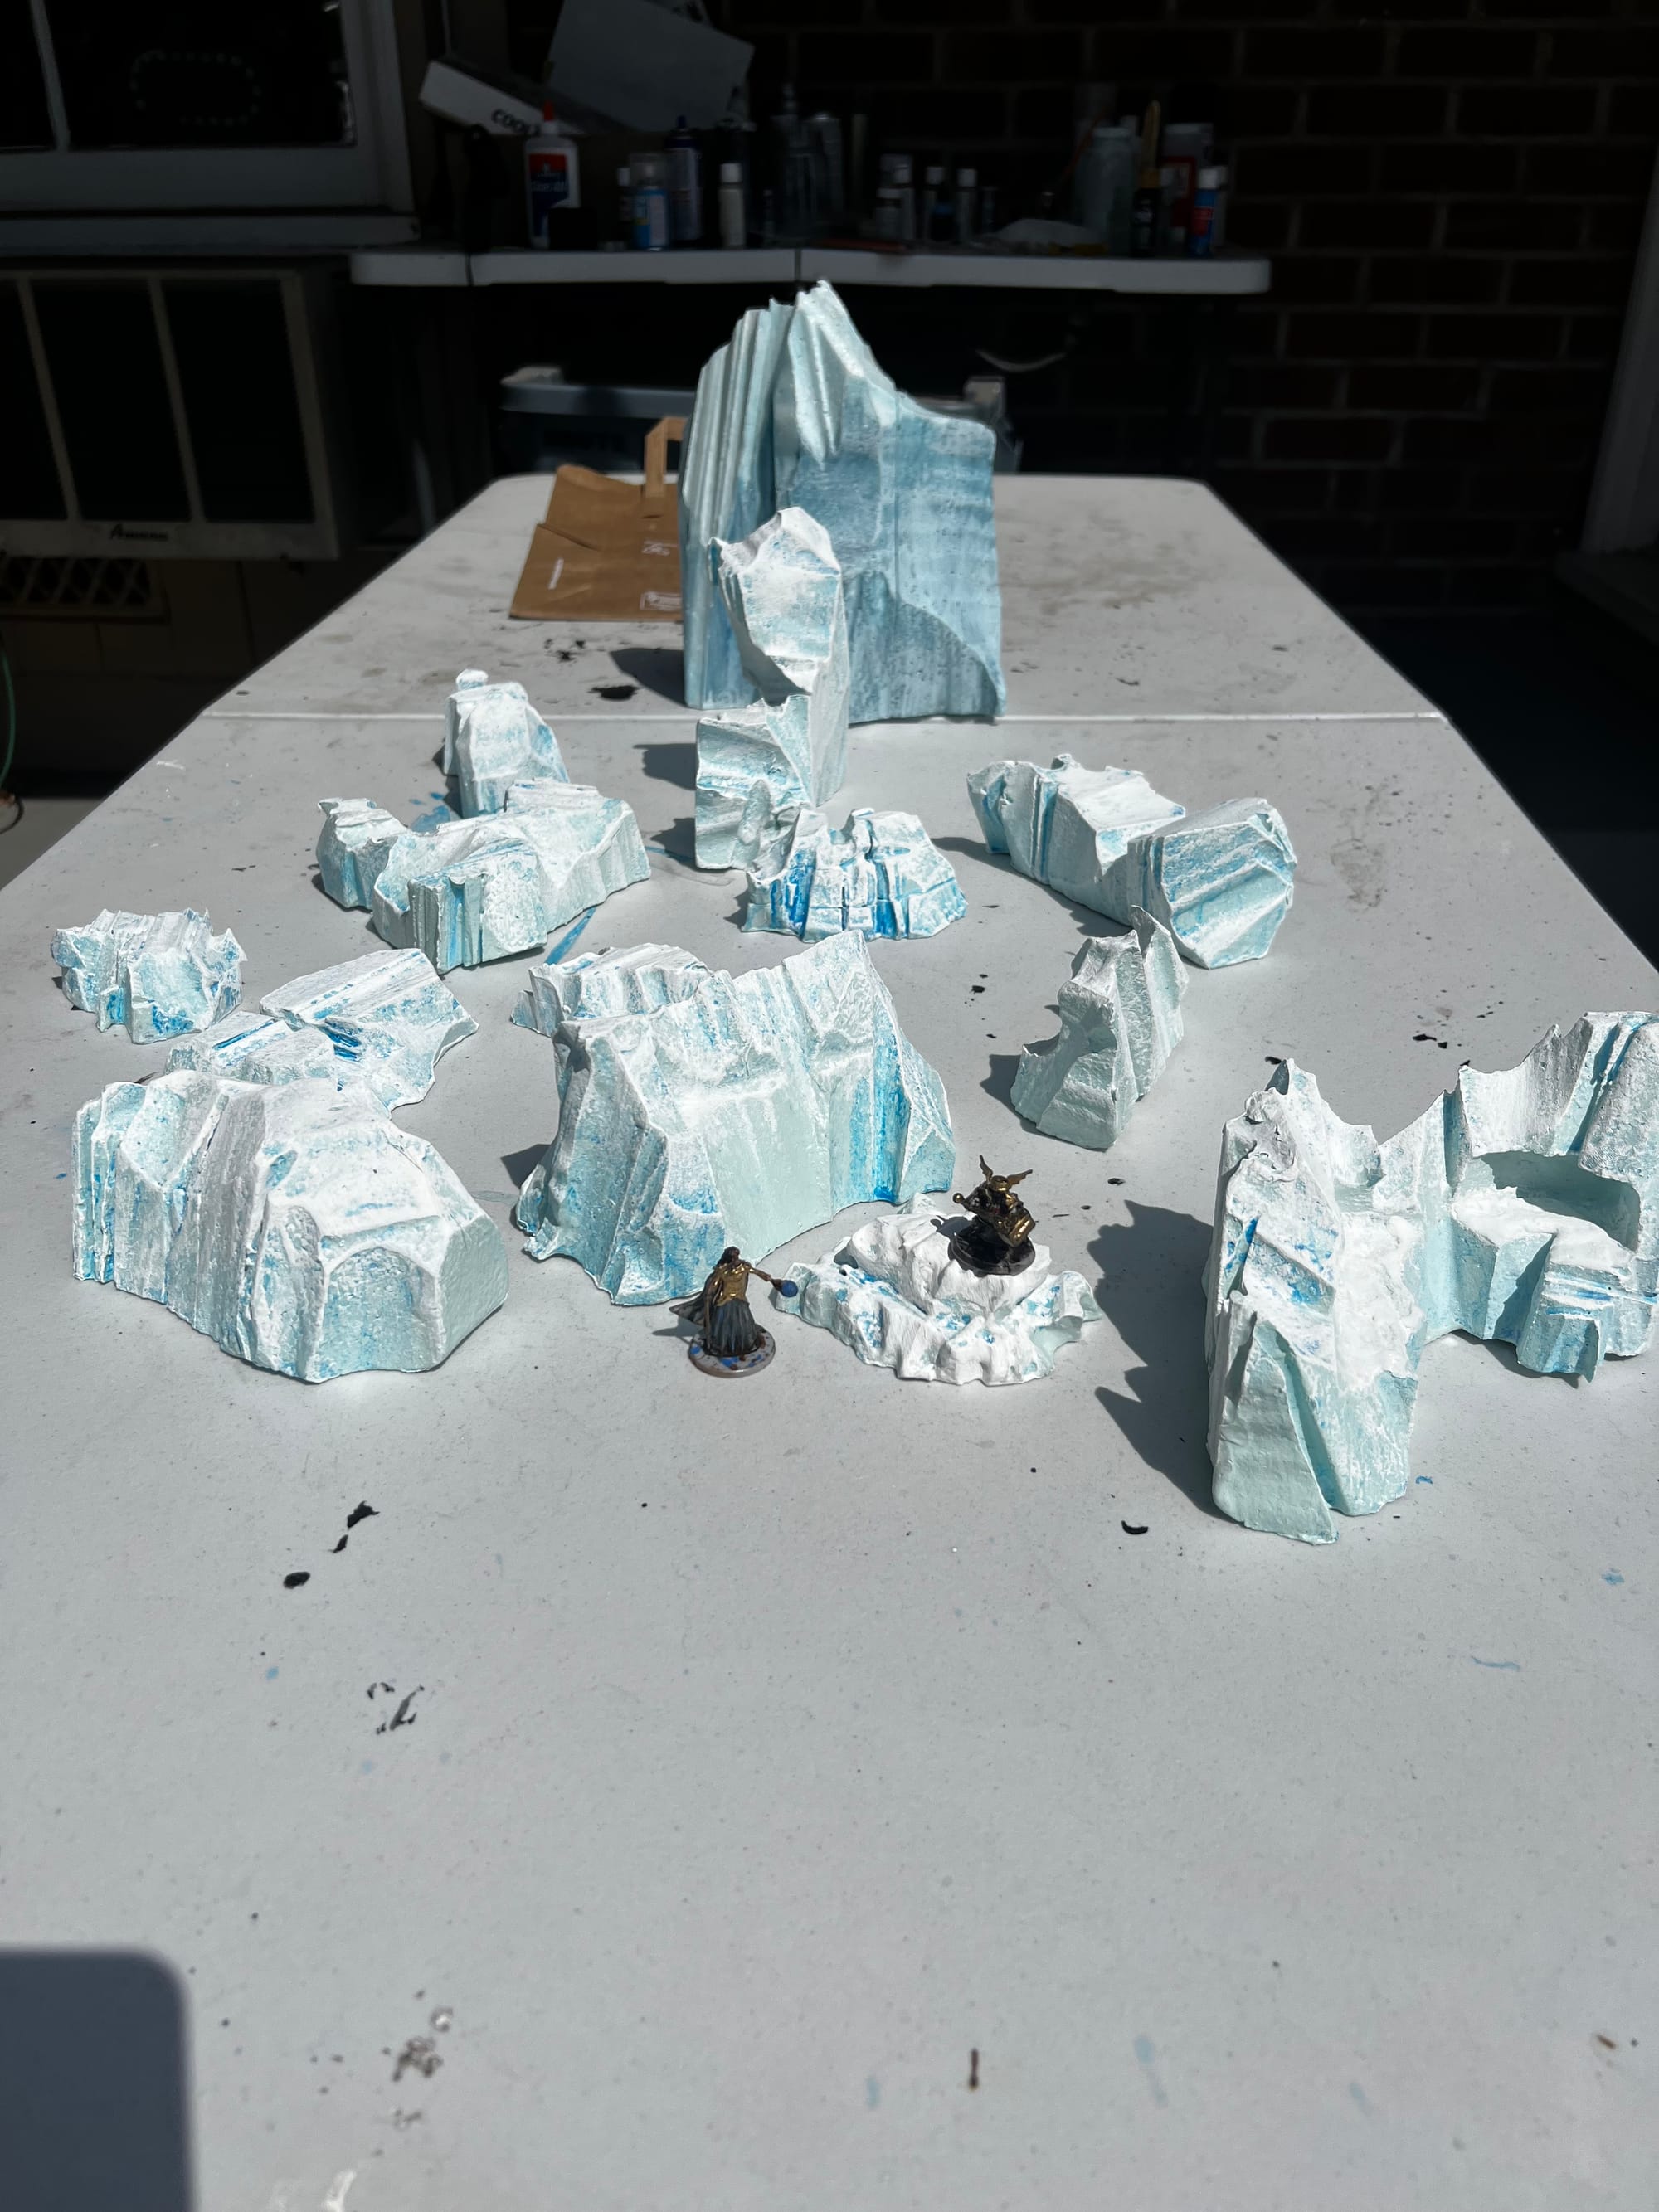
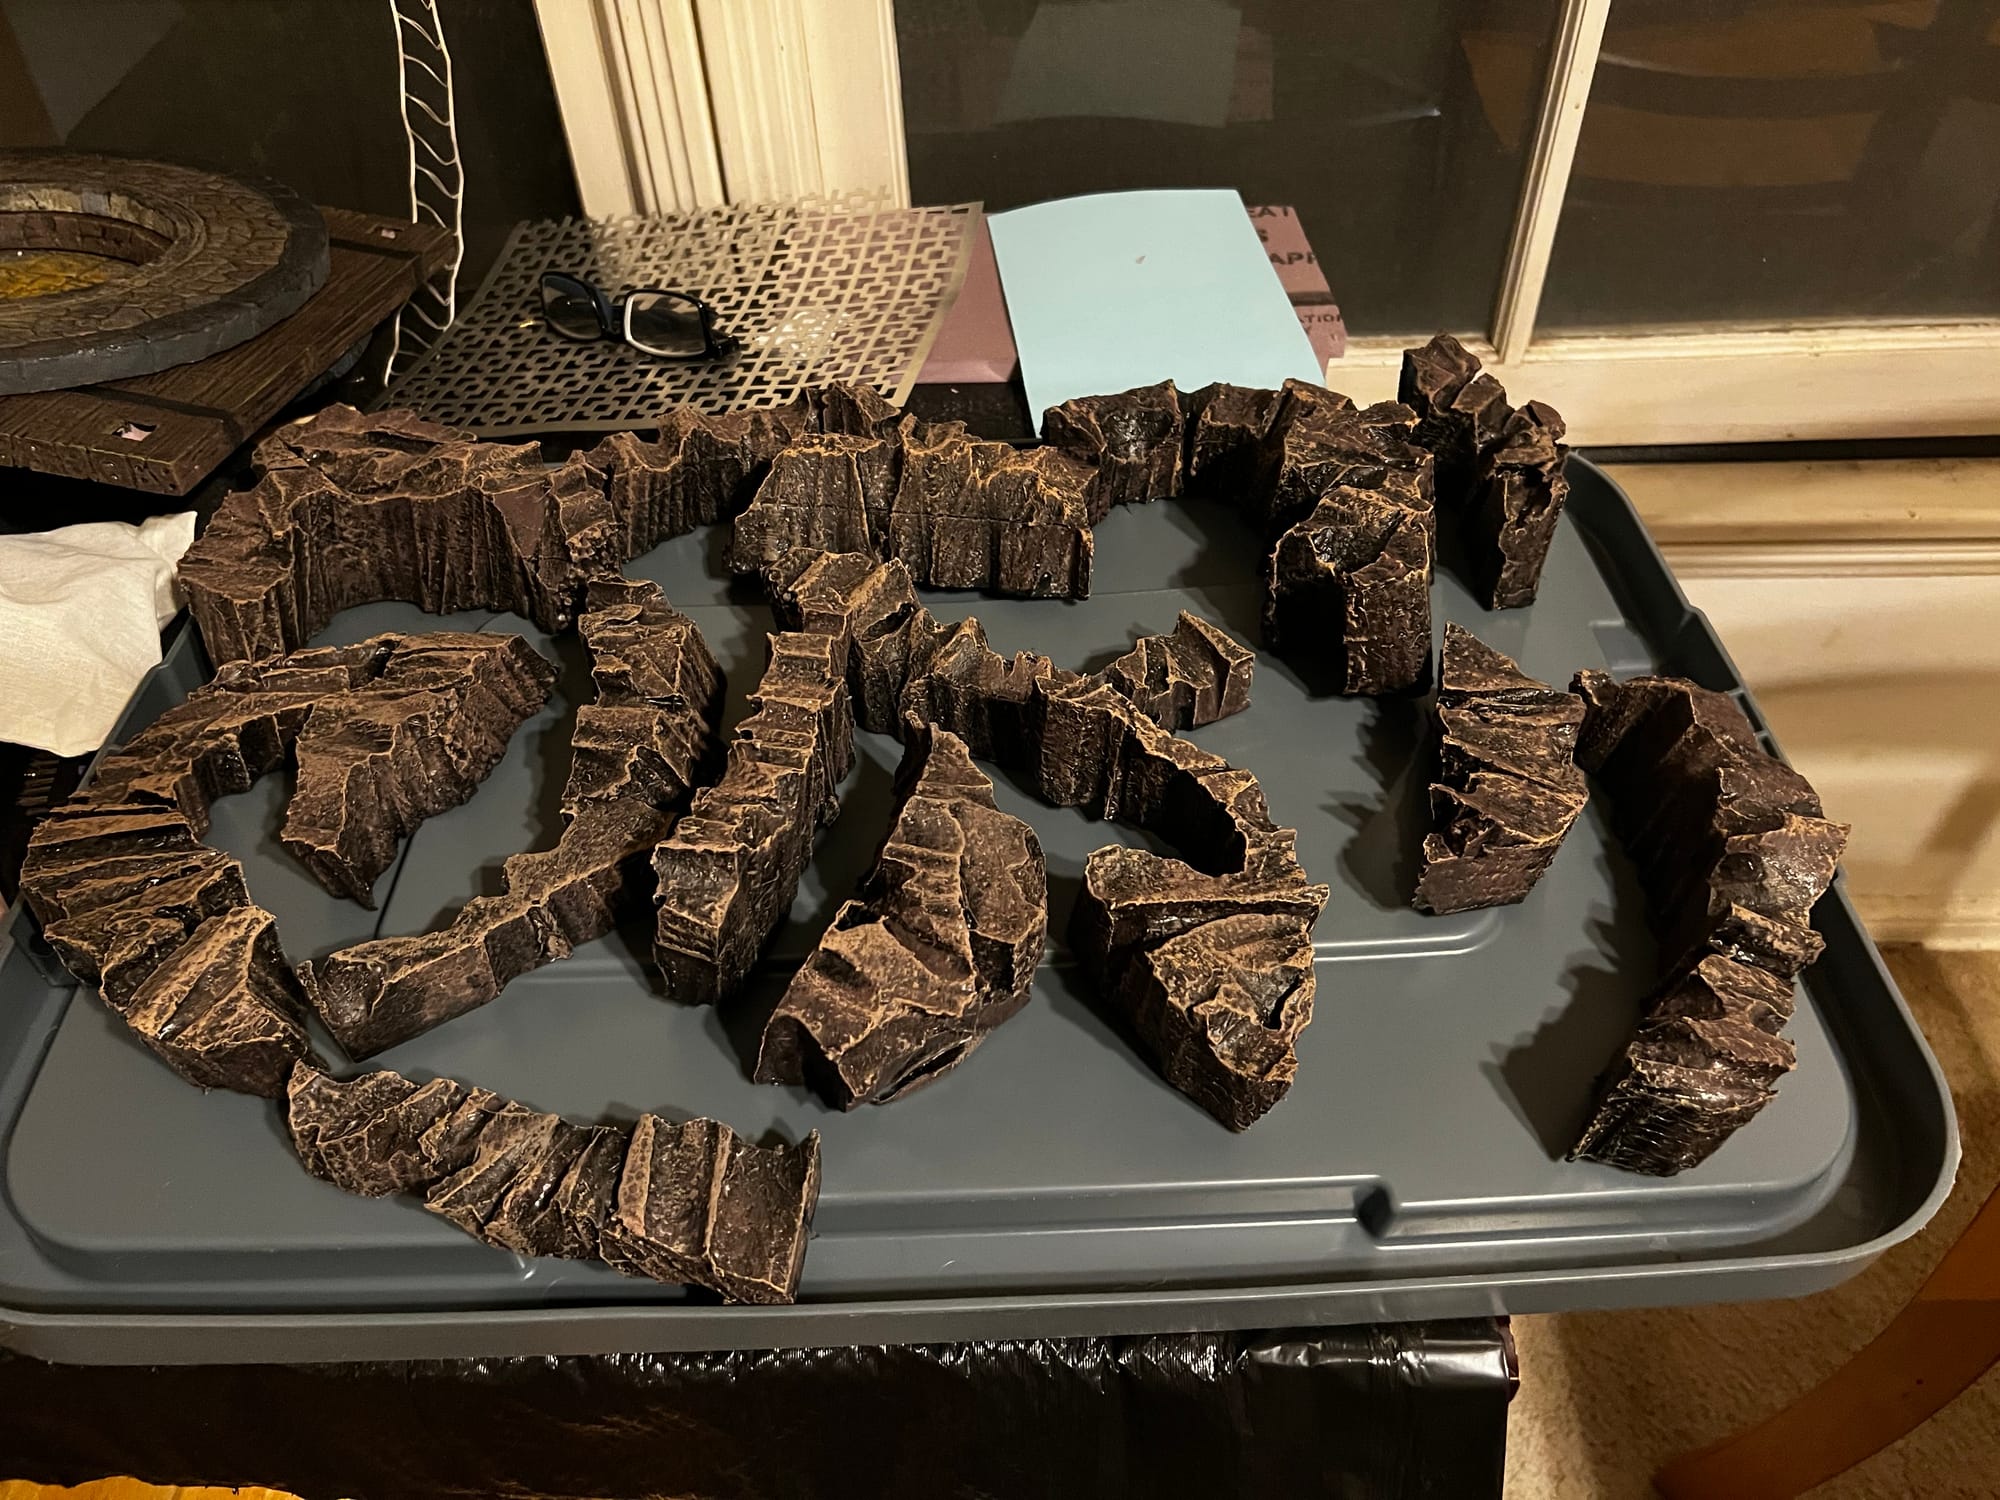
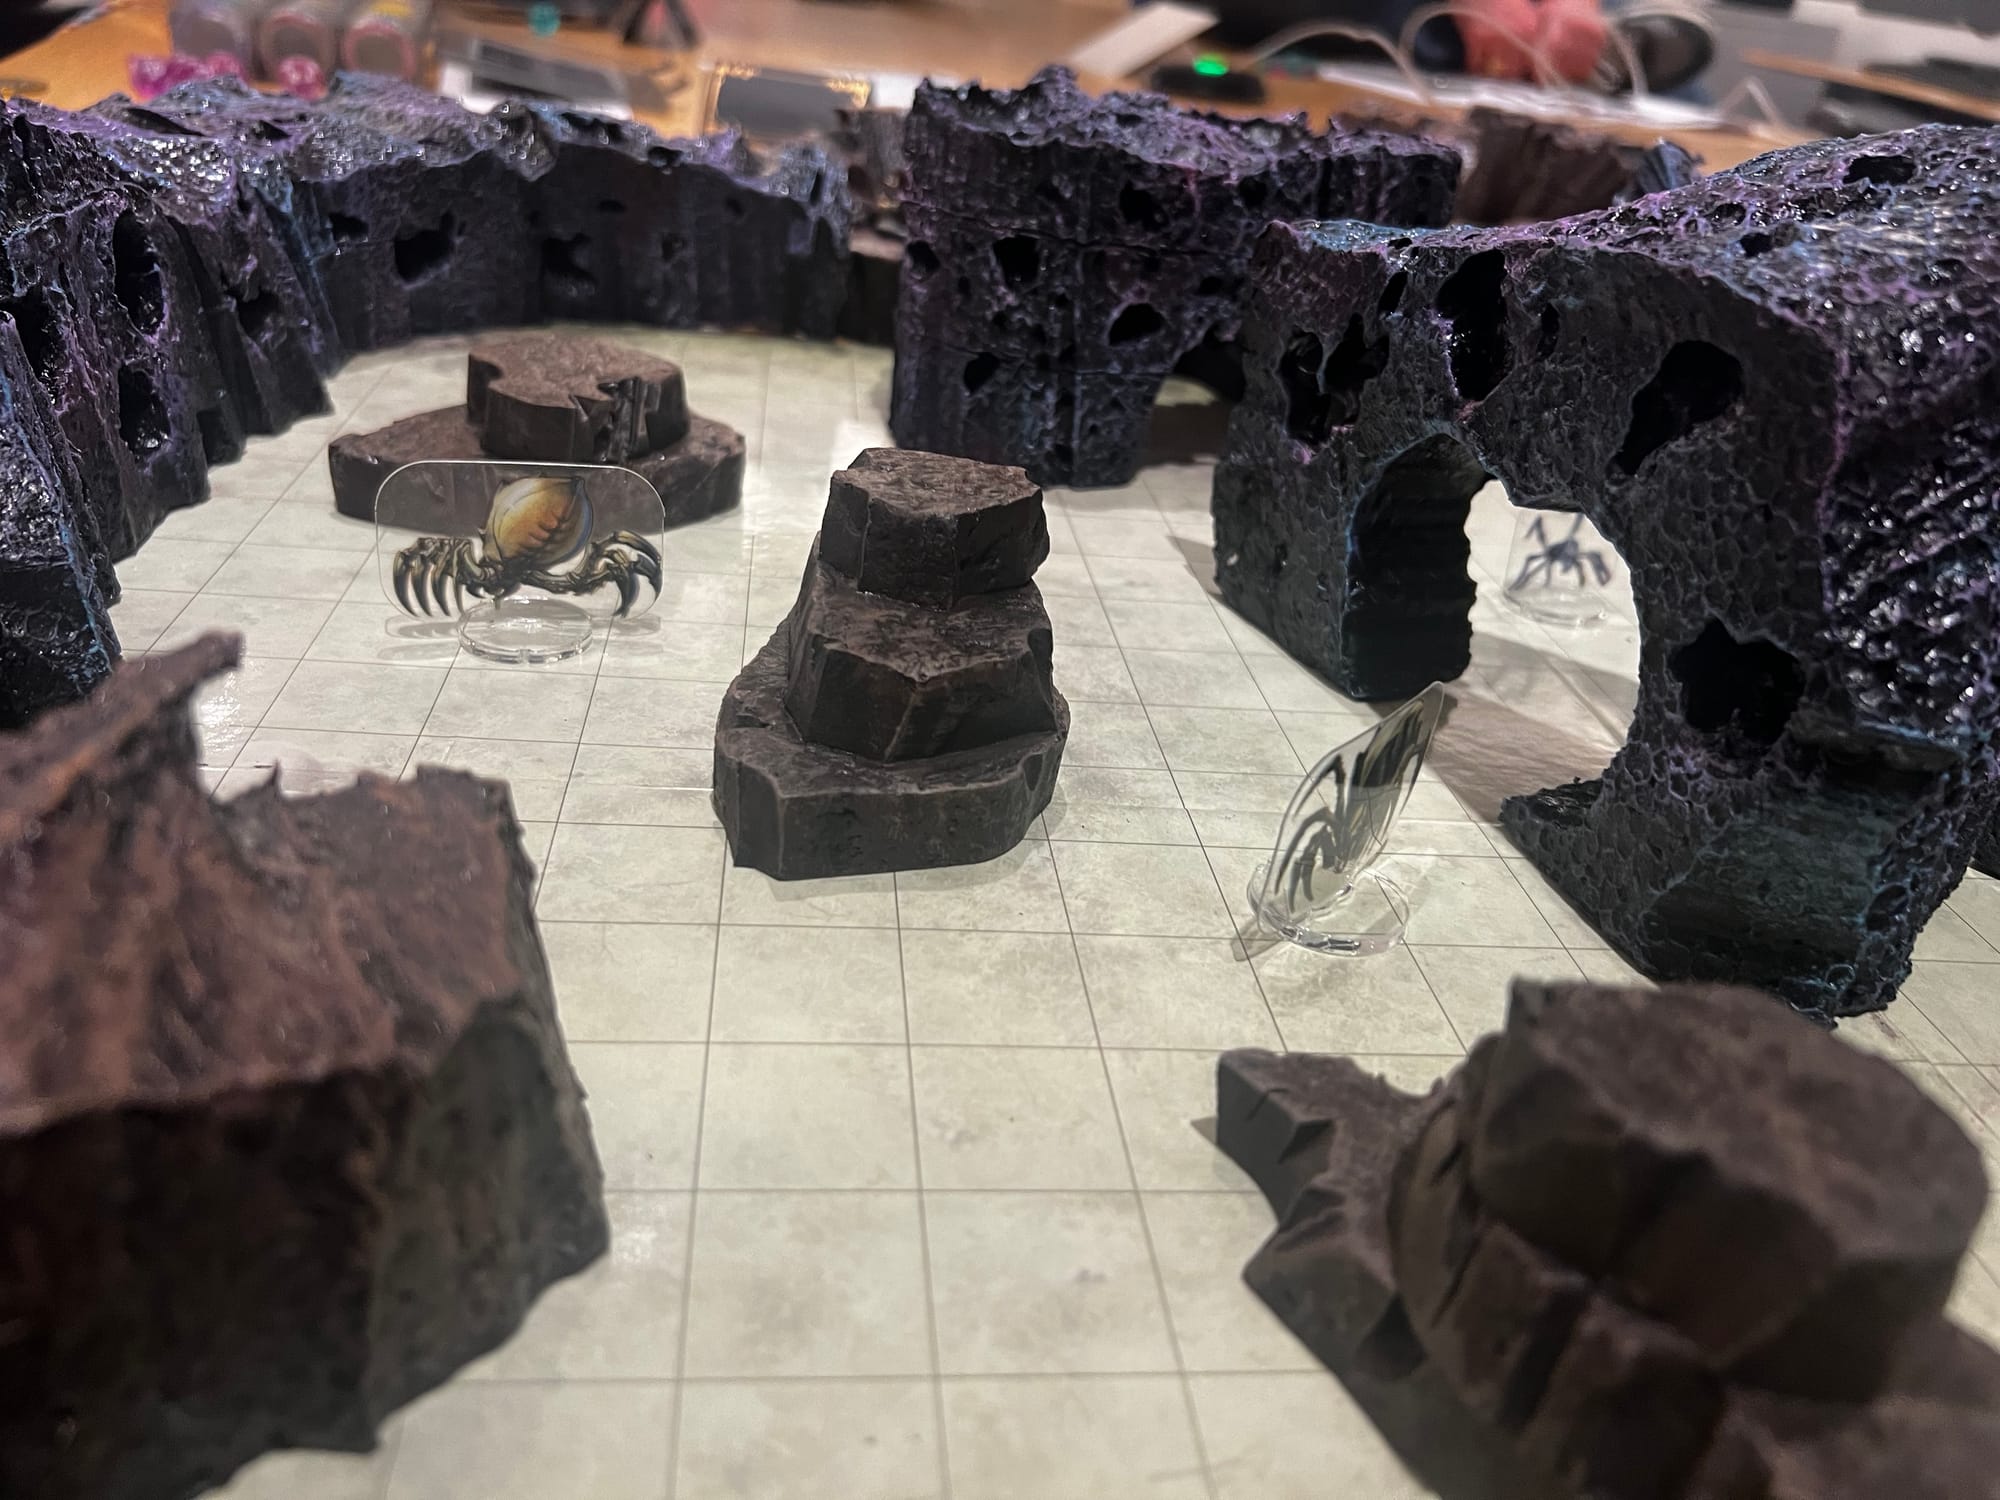
My players LOVE these pieces and there's always oohs and ahh when they come out. They're spectacular, despite taking only a couple of fun hours of crafting.
Instantly, brand new players are changing their positioning to find cover, or seeing if they can get advantage by climbing onto an ice floe and attacking from above. These bring the scene to life.
The video below shows my process in detail so you can follow along.
Have fun!